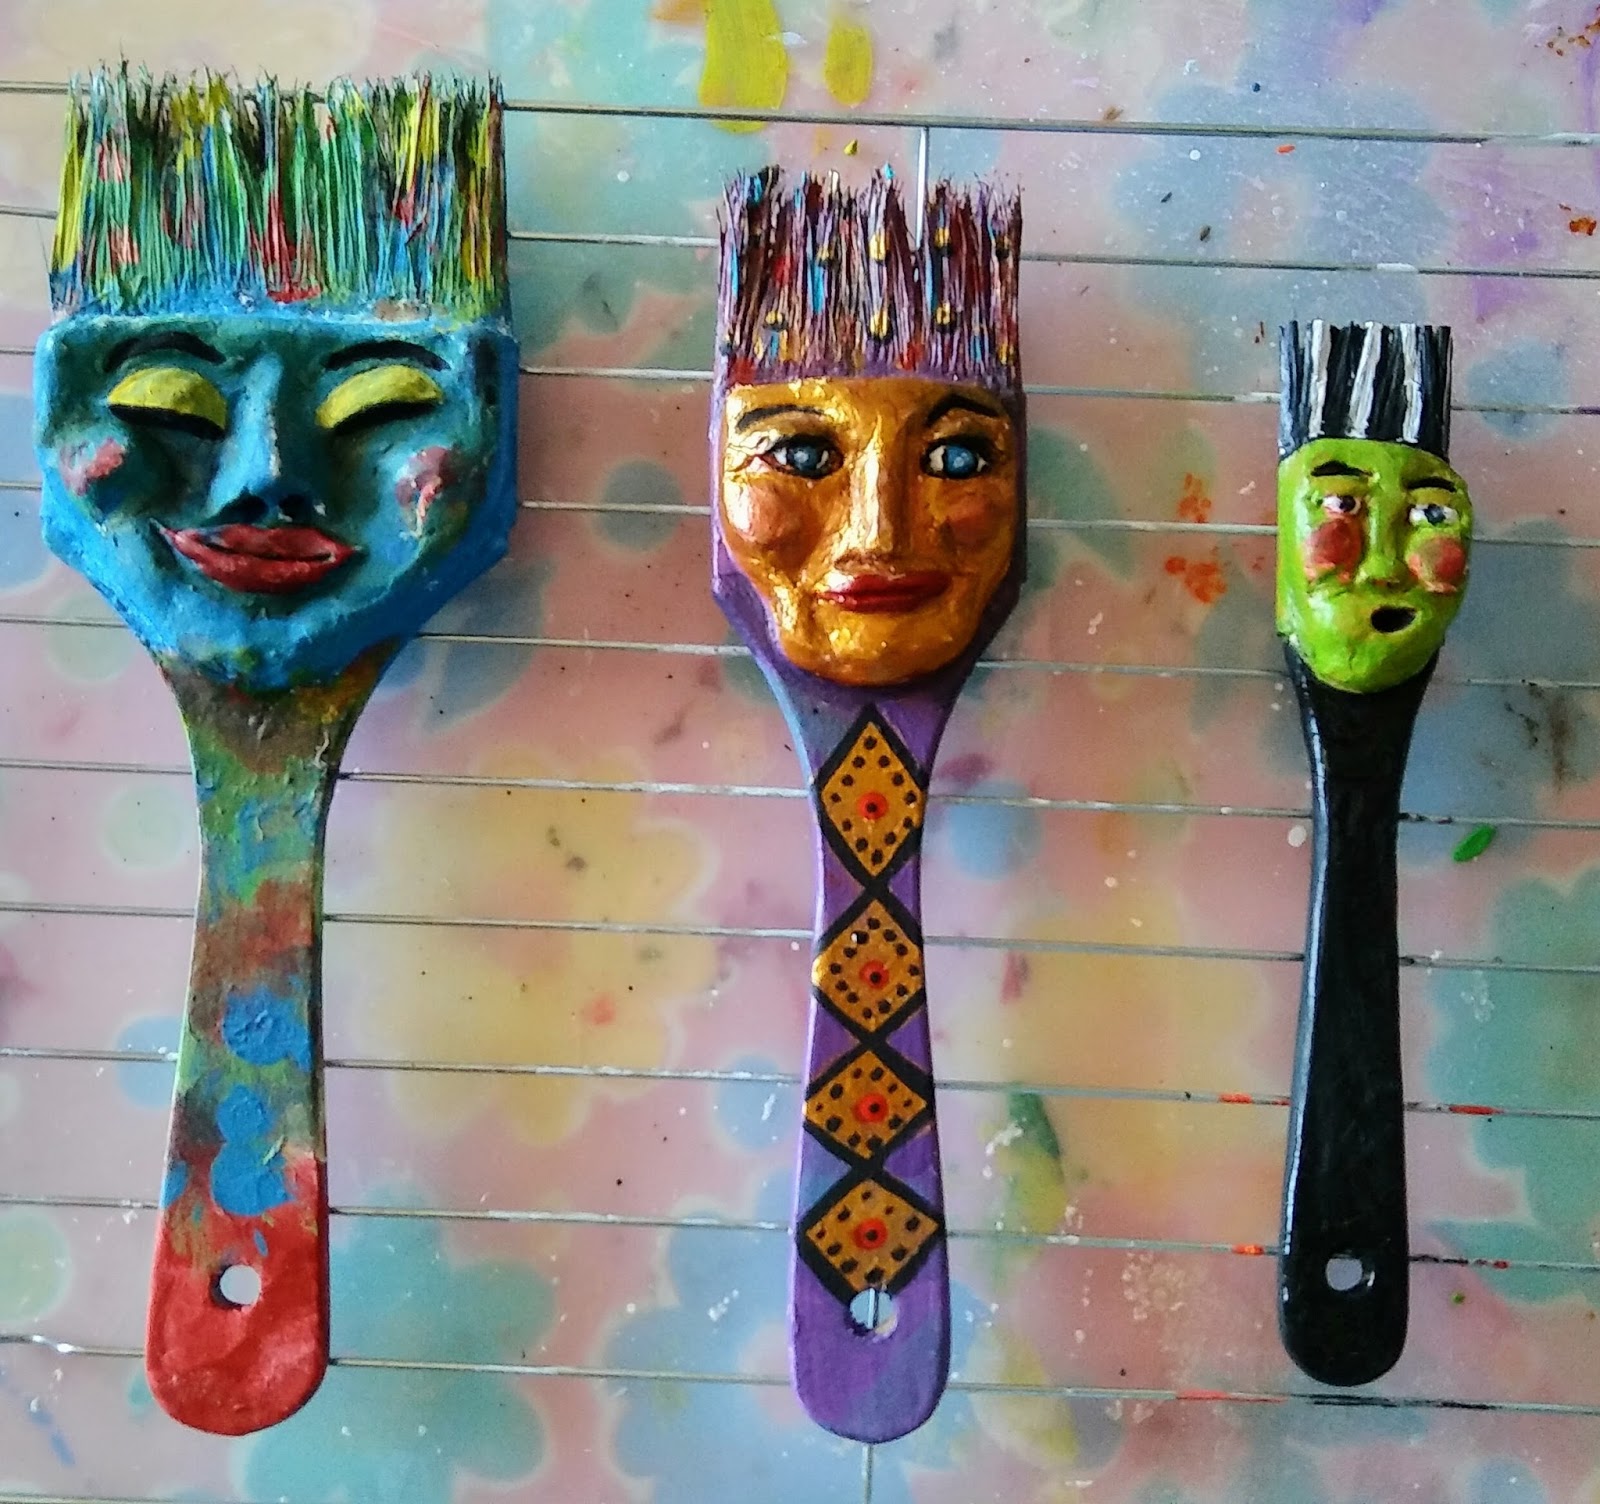
I've been trying to maneuver the new normal. It's been a challenging, right??
My creativity and inspiration really took a hit when Covid19 came to visit, so I put all focus on helping my family. My grandson came to visit for spring break and stayed as all schools went to virtual learning. We finished virtual second grade. Now we are becoming pros in third grade virtual learning. I hope y'all are making it through these weird times and finding some time to be creative.
Today I started learning about making Mandalas. If you follow my Pinterest page you can look at lessons I found to help me. You can also just click on the Pinterest box on this page and it will take you right to Pinterest. The name of the Pinterest board is Mandala art lessons.
I purchased some tools on Amazon to help. I will put the links below.
Unfinished wood clover from Dollar tree Americana Multi-surface paint in Black Tie, Leprechaun, Foliage green Americana Décor Distressed Harlequin 12x12 stencil Sharpie metallic gold medium tip pen Painters tape 1"paint brush 1/2" sheer ribbon Thin twine Makeup sponge or pouncer
A simple unfinished dollar wood sign gets an upgrade
Add swipes of each color green until completely covered.
Cover the clover with the stencil and tape it down. Using a cosmetic sponge, stencil the black tie paint over the stencil.
Using a metallic gold Sharpie, dot the center of each diamond shape, outline around the edges, and outline the clover. Tie the black ribbon on the stem and add thin twine to hang.
I have been seeing so many cute bee décor ideas as we approach spring. One that I keep seeing are these adorable bee hives. Inspiration hit and I had to try and create one for myself.
Supplies
Half of a plastic Easter egg
Twine rope
Hot glue gun and glue
Wax paper
Scissors
Small paint brush
Americana Multi-surface paint -black tie
Embellishments of your choice
I bought my plastic Easter eggs at Walmart. They are nesting eggs and were the perfect size for my beehives. For best results use the rounded end and not the flat end.
Wrap the egg half in wax paper. Twist at the top and fold under the egg. This keeps your hot glue from sticking to the egg and holds the shape.
Start at the large end. Add a drop of glue to the wax paper and attach the twine. Continue wrapping the twine around the egg hot gluing it to hold it into place. As you wind up to the next layer, and all layers after, you add the hot glue to the twine not the wax paper.
Cut the plastic wrap off the bottom and top. If wanted you can remove all the plastic wrap.
NOTE: In some places you will not be able to remove all the wax paper from the hive.
Cut a piece of twine for your loop at the top and another for the bee opening on the side. Glue into place. Paint the back twine of the opening with Americana multi-surface paint. Be careful not to get paint on the circle of twine.
Glue on any embellishments you want to finish your hive. NOTE: I added a wood base recycled from old coasters.
I hope this inspired you to make your own cute and easy beehive for your spring decor!
Shari
I love a great reuse project! These cute beverage holders are not just for summer. You can decorate them for camping trips, around the backyard fire pit, music festivals, that labor day BBQ. Check out my full tutorial on the DecoArt website.
Welcome and happy Friday!
I'm so excited to introduce my new blog look! It reflects the way I am feeling these days. I am a little lighter and brighter.
I took some time off blogging to teach crafting and painting classes at local establishments. But I missed blogging and designing. So here I am back to sharing all that creative stuff.
I hope you will enjoy being part of My Creative Lifestyle.
I LOVE Halloween and I am really inspired to see so many great DIY projects out there already.
Today I am so excited to share with you my first Halloween tutorial for DecoArt! This DIY project is super simple to create and uses some recycled wood. (yeah for recycling!) There are so many ways you can decorate this project after you get the basic structure made.
Go check it out and I would love to see your creations. Click on the link below the image.
Hi Guys!
I have recently had a chance to try the new DecoArt Stylin™ paint for fashion accessories. The colors are so vibrant and flow so smoothly. After they cure the paint is flexible and will not come off your leather, most synthetic leather, and patent leather items. You can use them on canvas and to refresh a fashion piece too!
Let me show you how I created a bit of southwest flair using these durable paints.
Supplies needed
Leather bracelet
DecoArt Stylin™
(Black, yellow, brick, turquoise)
DecoArt Americana® Aztec stencil
Small foam pouncer
Small paint brushes
Rubbing Alcohol
Painters tape
Paper towels
1. I cleaned the leather using rubbing alcohol to remove any factory dust or oils.
2. I taped my stencil down using painters tape and used a small pouncer to fill in the design onto the leather.
3. Remove the stencil and start adding the different colors to create a southwest feel.
4. Let your piece sit to cure the paint for 24 to 48 hours.
Here is the finished piece ready to wear.
Thank you for dropping by. I hope this inspires you to make or refresh a fashion piece you already have. I would love to see your project using DecoArt Stylin™ paints.
Hi
My friends and I recently came together for a creative crafternoon. We searched Pinterest for fun ideas. It was hard to choose, but finally decided on a wine bottle wind chime. I added a twist on the craft....etching!
Helpful hint: Pre-cut and sand the edges of your wine bottles several days before you are ready to etch them.
I wanted to share with you a quick pictorial on how I created mine. The results are just magical!
Helpful hint: Pre-cut and sand the edges of your wine bottles several days before your party.
applying stencil to the bottle
Easy Etch applied covering the stencil
15 min later scrap off , wash bottle
assembled wind chime
front close up
side close up
adding the wind sail
Here is a list of my supplies in case you want to try making one too!
It was really fun to get together with my crafty friends. What an amazing time we had creating an etched wine bottle windchime. We can hardly wait to get together for our next amazing crafternoon!!
It may not be as intricate as Ed Hardy's designs but love the look it brings to my chalkboard mug. Do you want to make a coffee mug embellishment? Hop over to the Creative Paperclay® blog 😁
Hi!
Lover of everything Halloween here. This is my favorite time of the year . So many fun Halloween decorations, crafting, and candy eating going on!!
Want to see how I made this cute Halloween Goulie Wand? Head on over to the Creative paperclay blog.
With a little imagination you can create more starting from the basic instructions on my tutorial. My grandson just loves them!
All my vacations and the summer holidays are over and its time for me to get back to the studio and do some creating!
Today I came across a great way to recycle old CDs into sun catchers. It was super fun and EASY. I love the results.
If you are lucky enough to have a creative reuse store in your area like I do, you can find all the old CDs your little heart desires. You can always look at garage sales, and thrift centers as well.
I want to occasionally share with you some of the creations I am inspired by.
Today I came across a wonderful tutorial by Linda Cain. I am in love with this style right now.
Join me in checking out the tutorial and creating your own.
Shari
Finnabair: Time on the Wings of a Butterfly: Happy Creative Friday, Everyone! Do you remember catching butterflies with Irina ? Today we have a beautiful Grungy specimen caught on ca...
I wanted to show you a faux stained glass piece I created using DecoArt® glass stain. This product is so easy to use, the colors are vibrant, and they are self leveling. The other brands that I have tried did not have self leveling. I believe this is mandatory in getting that flawless stained glass look.
I found an old window at my local "everything" shop the other day. I removed the glass and cleaned it with soap and water, then used rubbing alcohol on it and let it air dry. Note... Because this window is old you have no way of knowing what type of paint etc. is on it that could be toxic, I made sure to use gloves and an air mask.
I sanded the frame where there were visible rough spots, scraped out the old window sealant, and wiped it down with a damp cloth. I painted the frame with DecoArt® chalky finish paint ( Lace) and sealed it with Ultra-matte varnish.
I created the pattern for the stained glass using paper the same size as the glass. I wrote in the colors I would use in the different areas with a black sharpie. I laid the window on top of the pattern and traced it on the glass with a black Sharpie® pen. Remove your pattern and set aside. Note.. Do not add the color names of each area on your glass. Refer back to your pattern for your colors.
Start tracing each line with DecoArt® stained glass leading. Let dry overnight. Note: You may need to do a small areas at a time so as not to smear it. You can clean up lines using a tooth pick and a baby wipe.
Start filling each area with your chosen colors. I have added a video which shows this technique and others I used.
I added an extra special touch on my piece. I added stained glass color in the middle of each flower. When completely dry I glued glass stones that matched the color. It gives it a little 3D look. I used Dap® Adhesive Sealant to secure the window back into the frame. I used large eye hooks, chain, and S hooks to hang it on my front porch.
I am so happy with what I could achieve using this product! I was a little nervous when I started with this large piece but it turned out beautiful and I absolutely LOVE it!! My neighbors are showering me with compliments.